How to Migrate Your Discord Server to Armada
Migrate your Discord server to Armada in minutes: channels, roles, emoji, and up to 10,000 messages of history per channel, plus an optional live two-way bridge.
Armada has a built-in Discord import tool. It turns a Discord server you run into an encrypted Armada community: channels, roles, custom emoji, and up to 10,000 messages of history per channel, signed with your own key so you own it outright. You can also keep a live two-way bridge to Discord while your members move over.
You need three things:
- A Discord account with Manage Server on the server
- A free Nostr login at armada.buzz
- About ten minutes
No bot tokens, no export files. Use our hosted bridge, or self-host the bridge yourself (see the self-host section below). One thing to know going in: Armada and the Discord bridge are both in open beta ahead of v1.0, so expect occasional rough edges. The screenshots below walk through migrating a small demo server, Moonrise Arcade.
Step 1: Open the Discord Import Tool
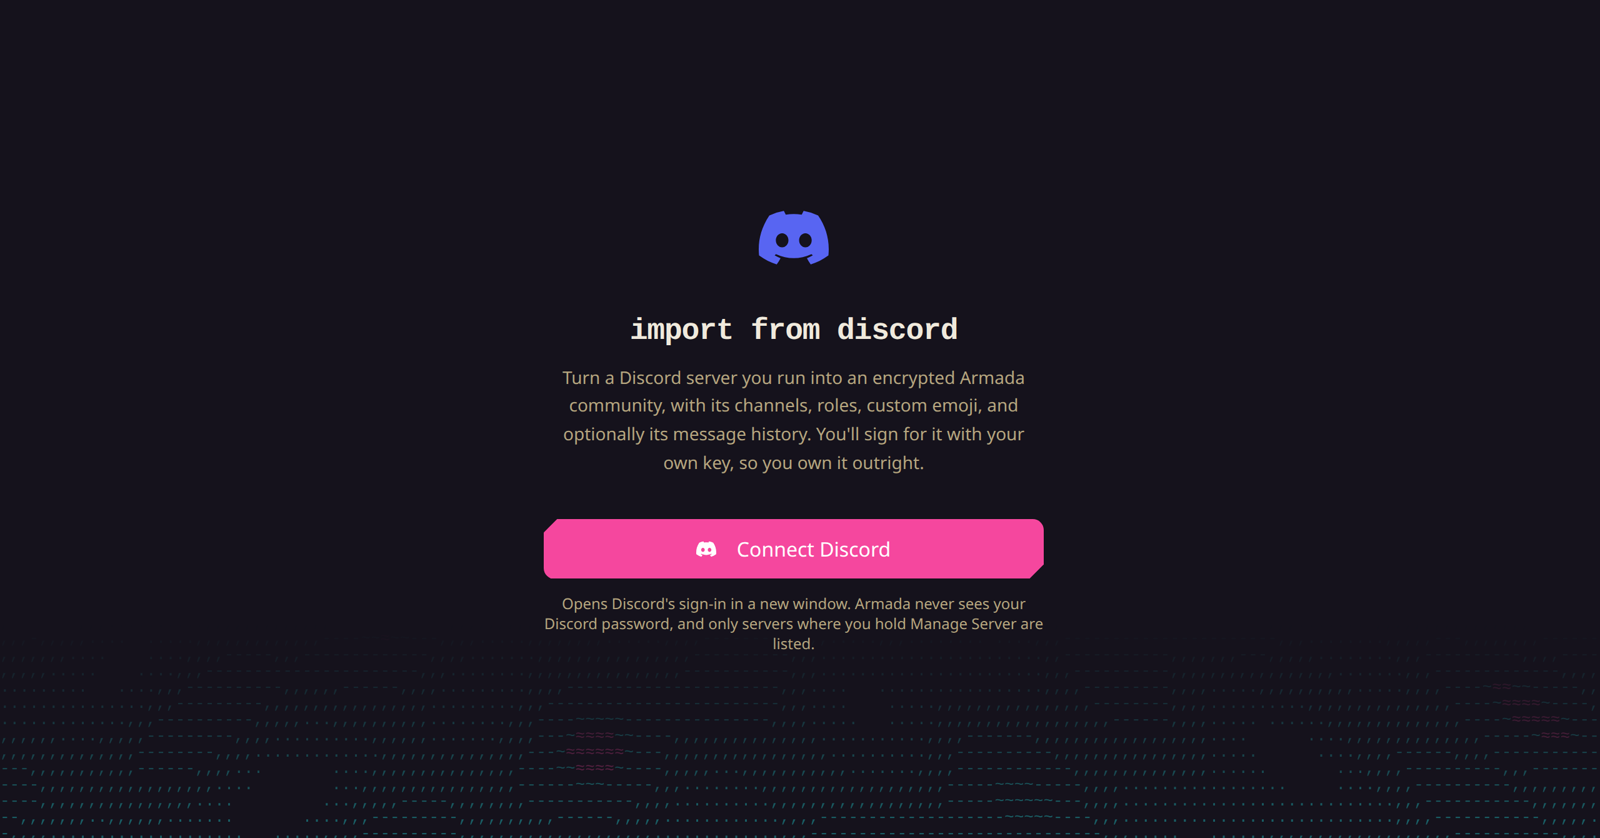
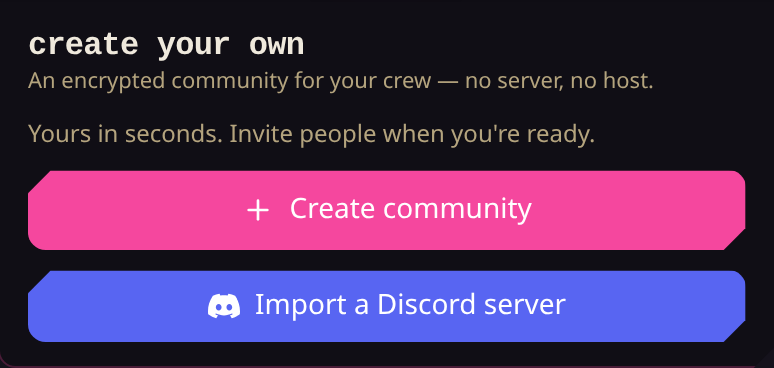
Sign in at armada.buzz and start creating a new community: click the + in the server rail, or Create community on the Discover page. Below the create form, click Import a Discord server.
Step 2: Connect Your Discord Account
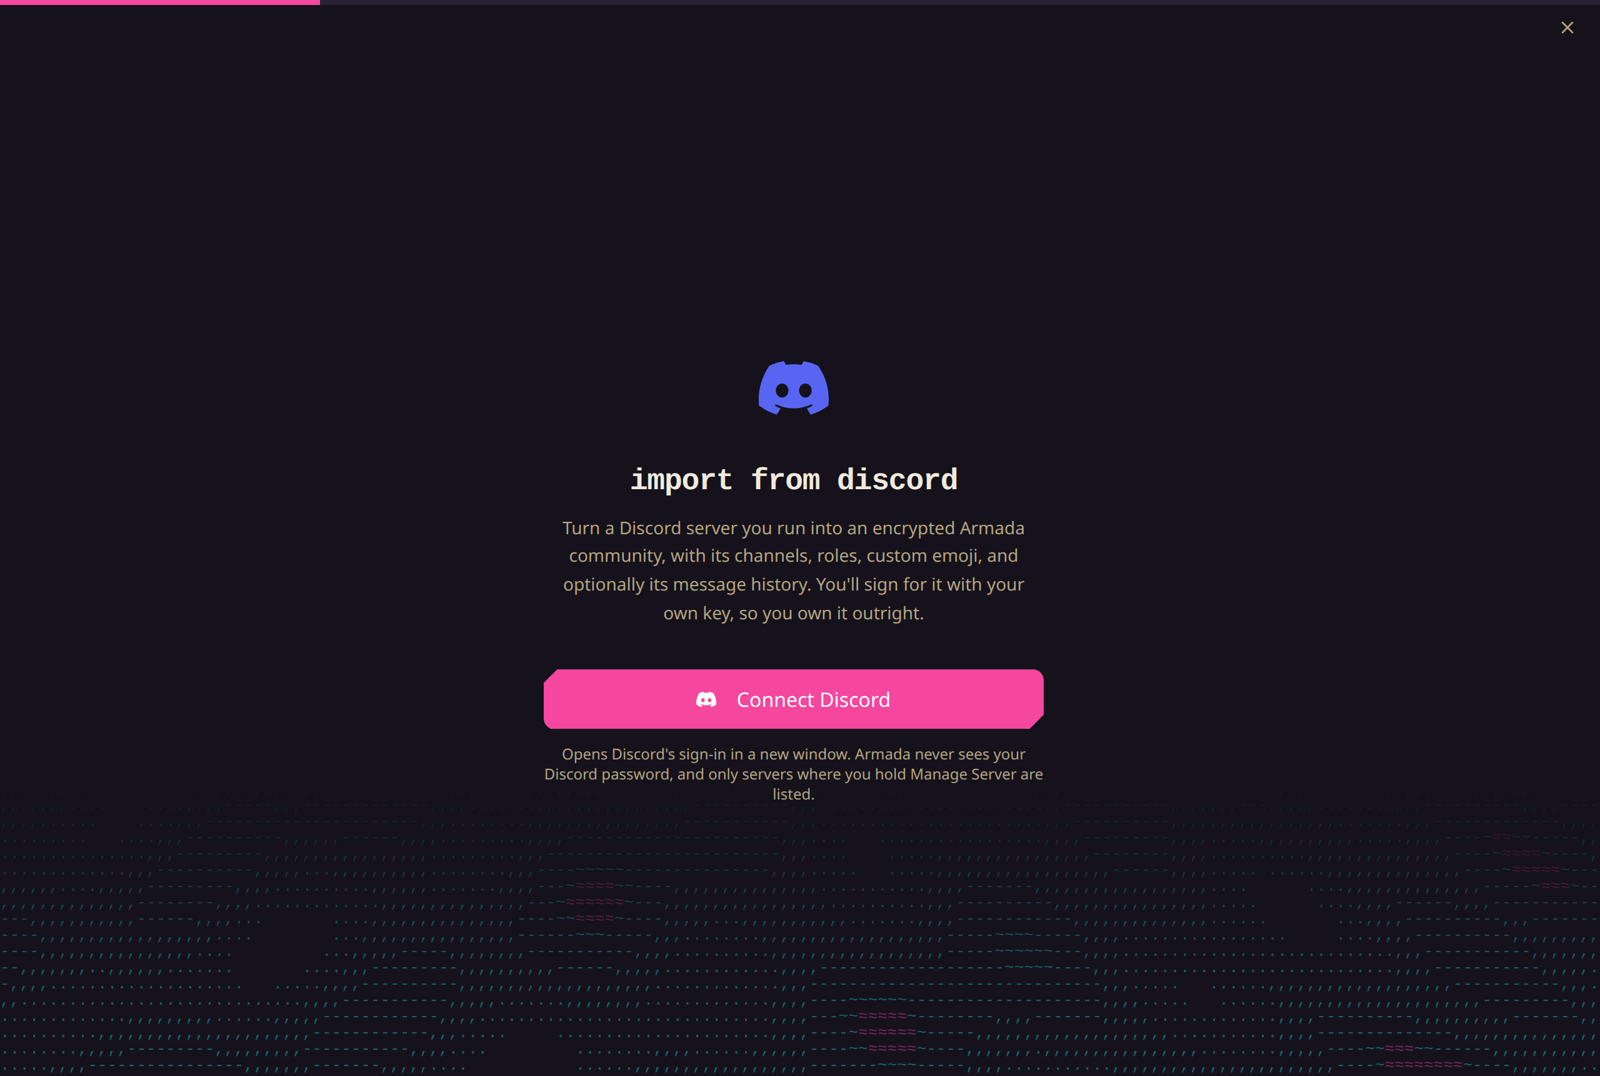
Click Connect Discord. Discord's own sign-in opens in a popup, so Armada never sees your password. Only servers where you hold Manage Server are listed.
Step 3: Pick the Discord Server to Migrate
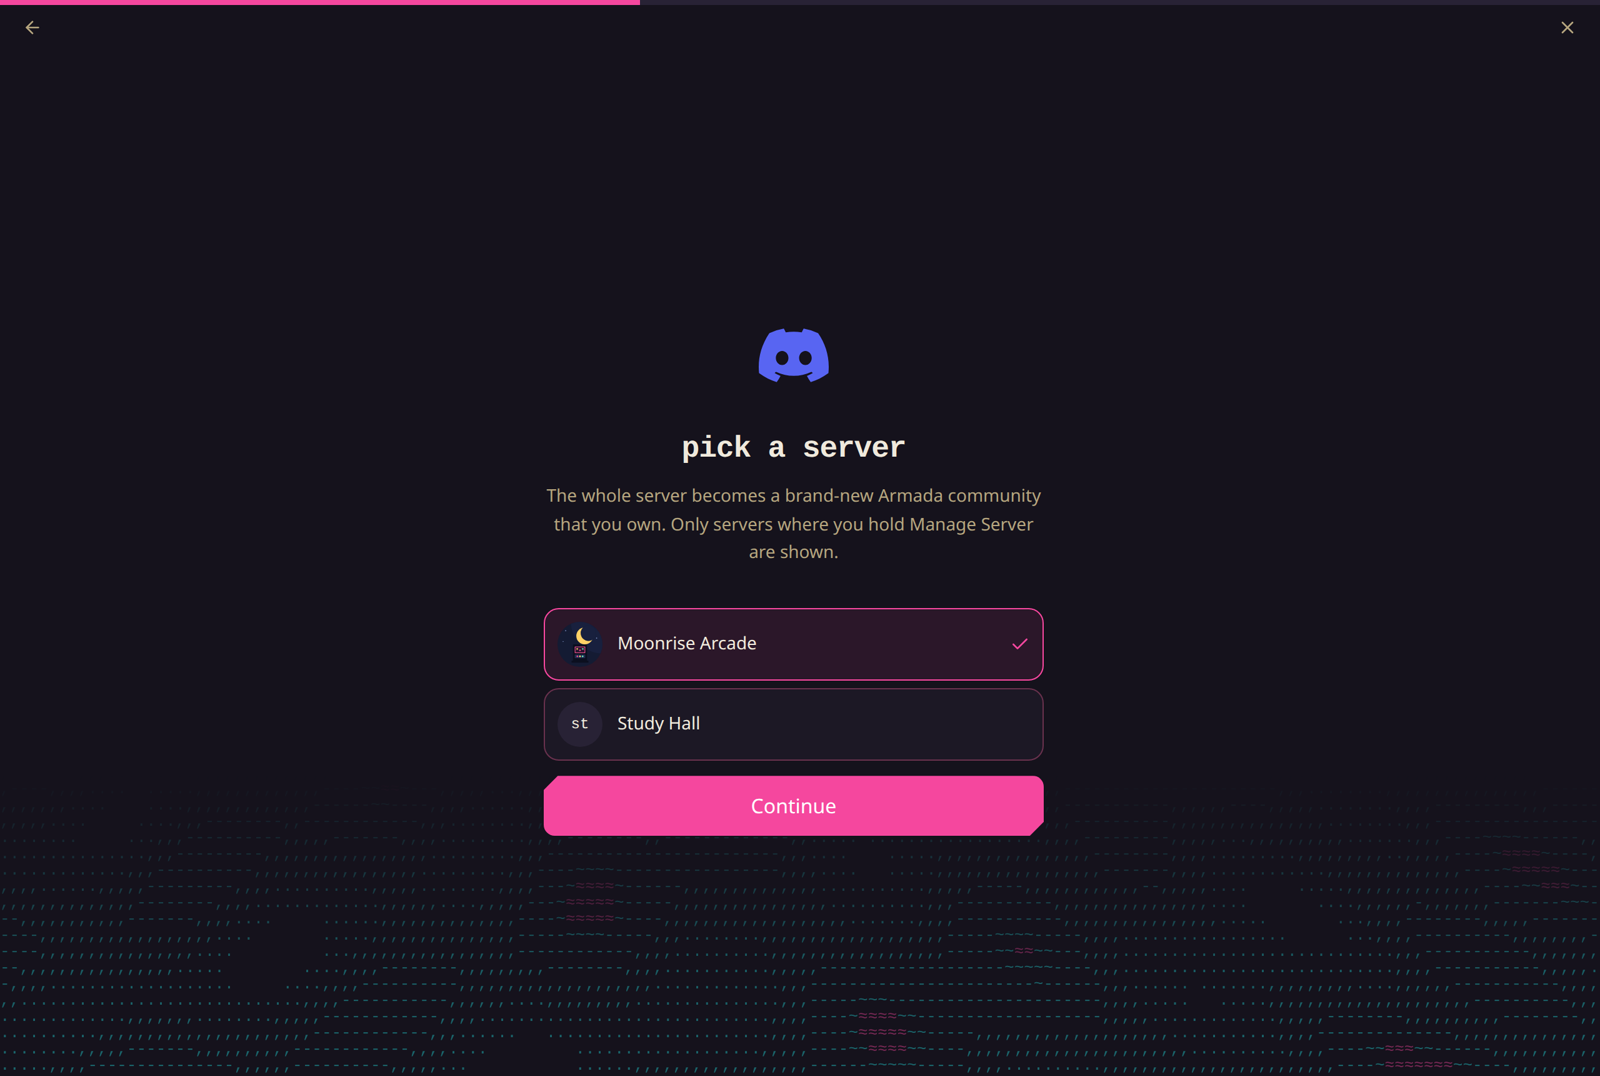
The whole server becomes a brand-new Armada community that you own.
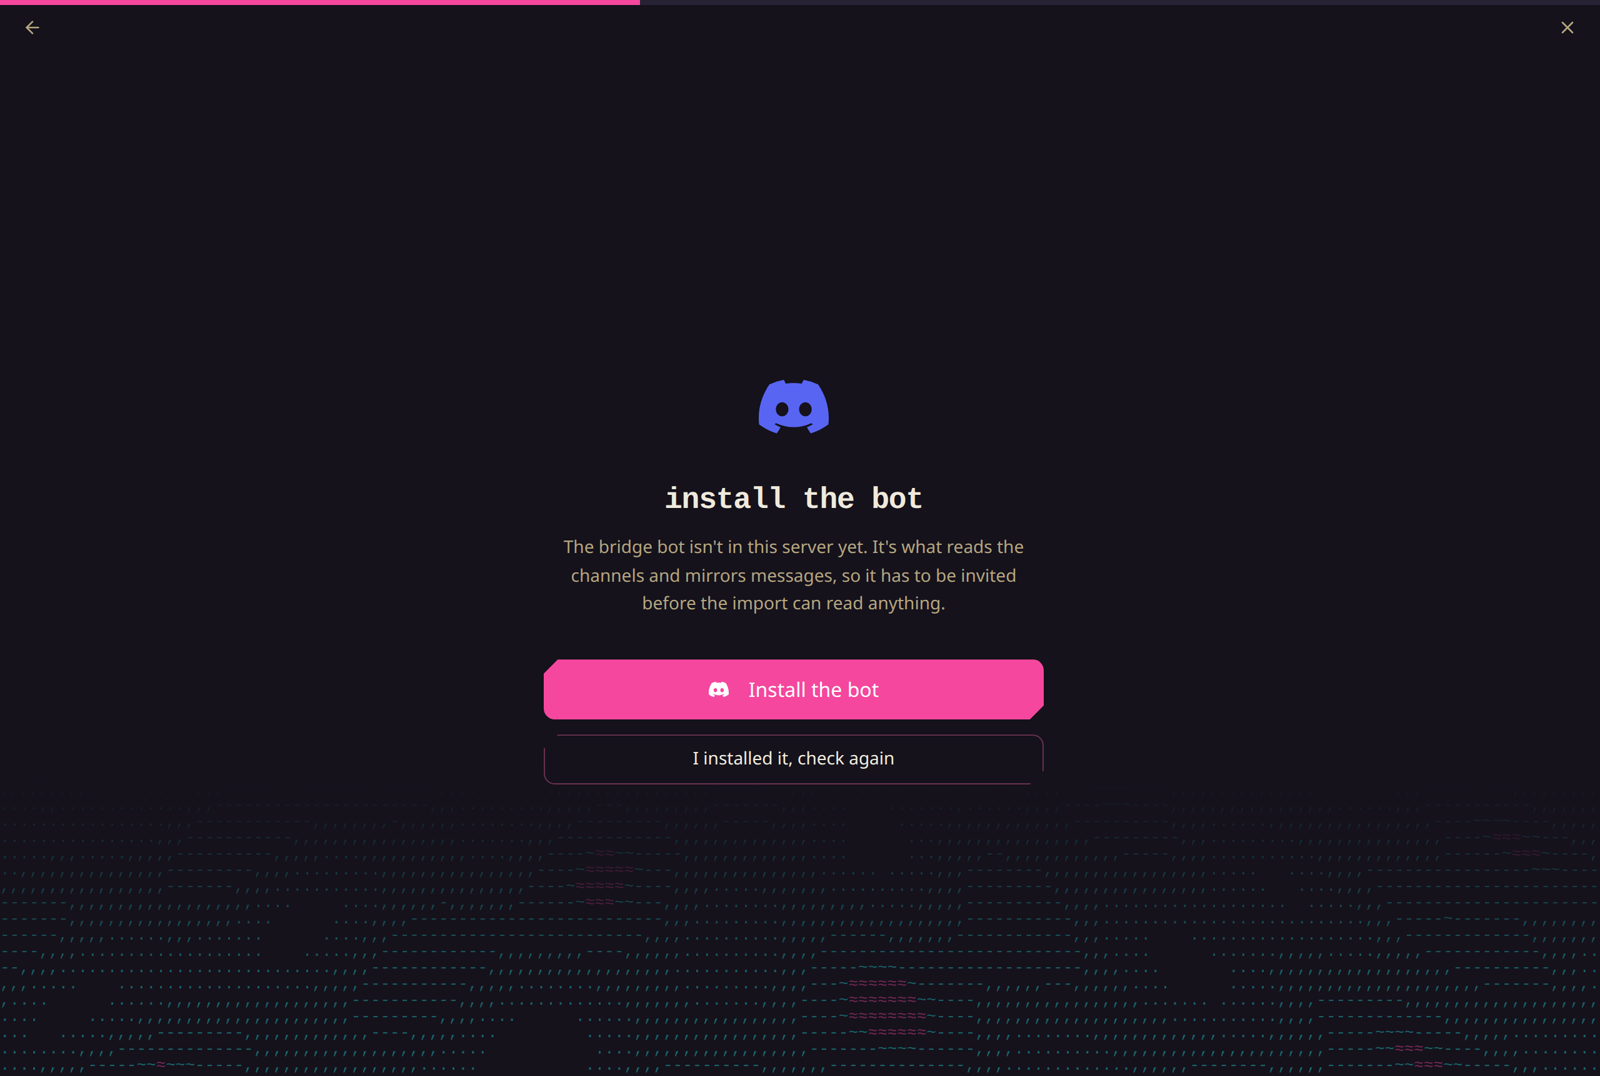
Step 4: Install the Bridge Bot
The bridge bot reads your channels and mirrors messages, so it has to be in the server before the import can read anything. Click Install the bot, approve it on Discord, then come back and click I installed it, check again.
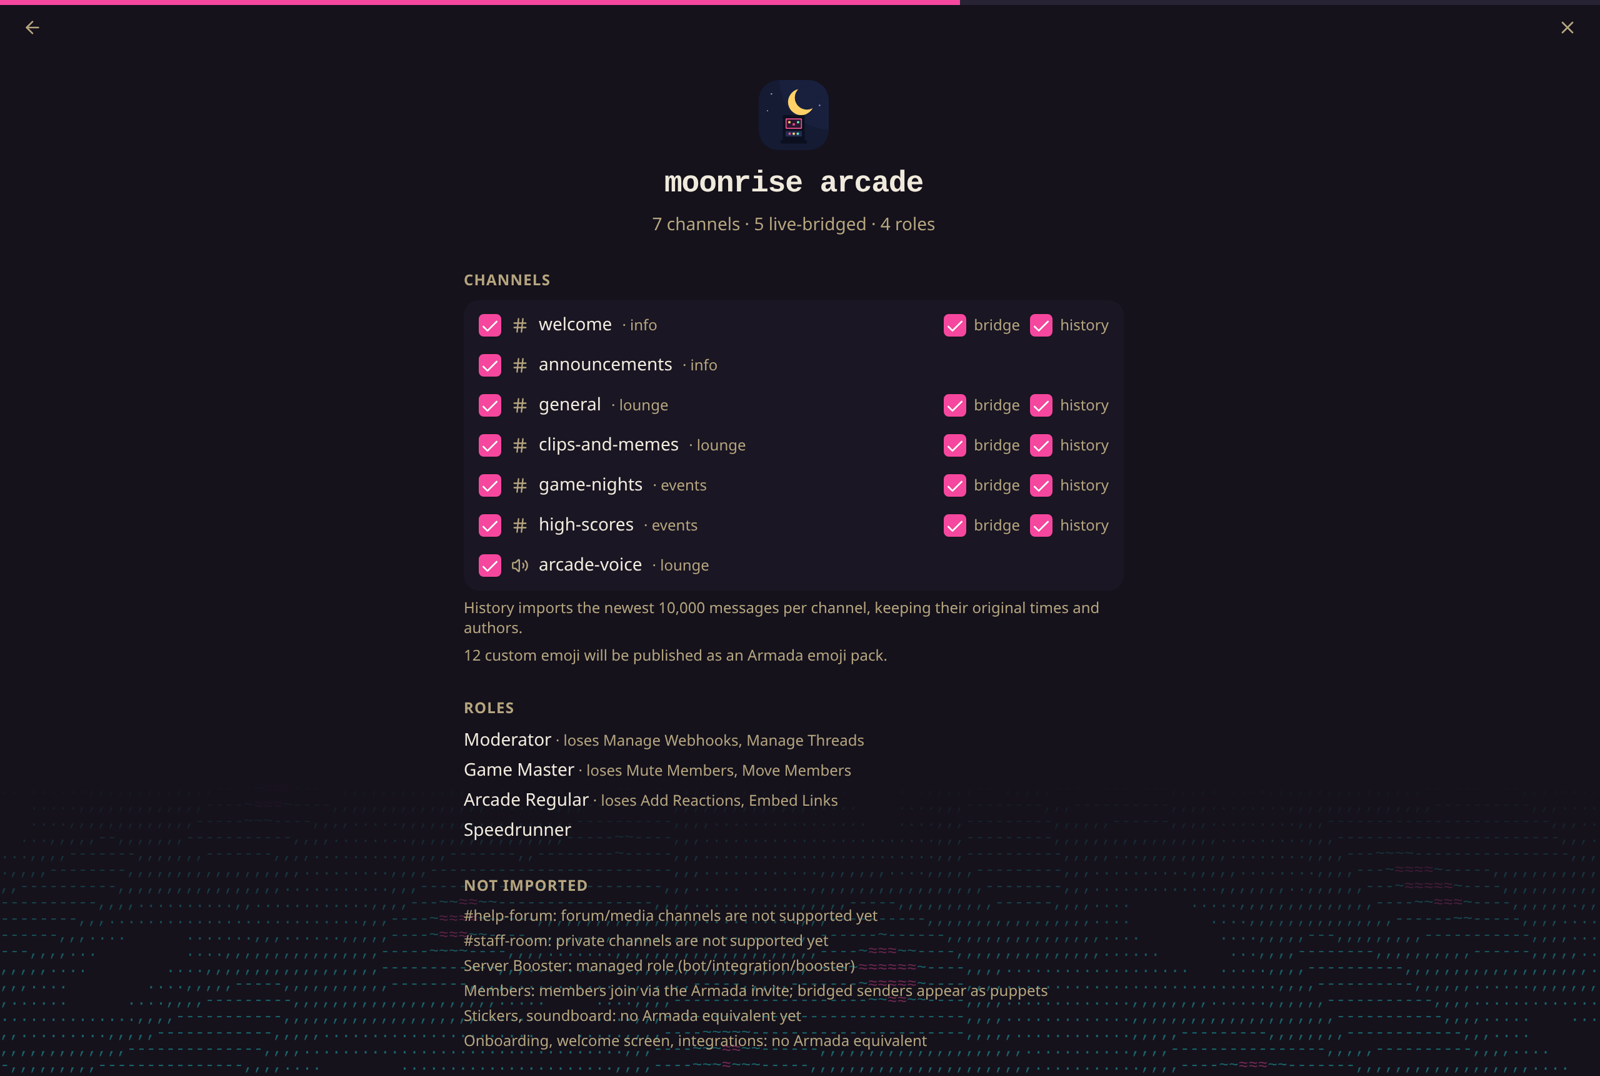
Step 5: Review Channels, Roles, and History
Each channel has up to three toggles:
- Include: import the channel at all
- Bridge: mirror messages live between Discord and Armada, both directions
- History: backfill the newest 10,000 messages with their original times and authors
Roles come across with their names, colors, and hierarchy. Permissions that have no Armada equivalent (like Manage Webhooks) are listed next to each role so you know exactly what is dropped. The Not imported section names everything that gets skipped, and why.
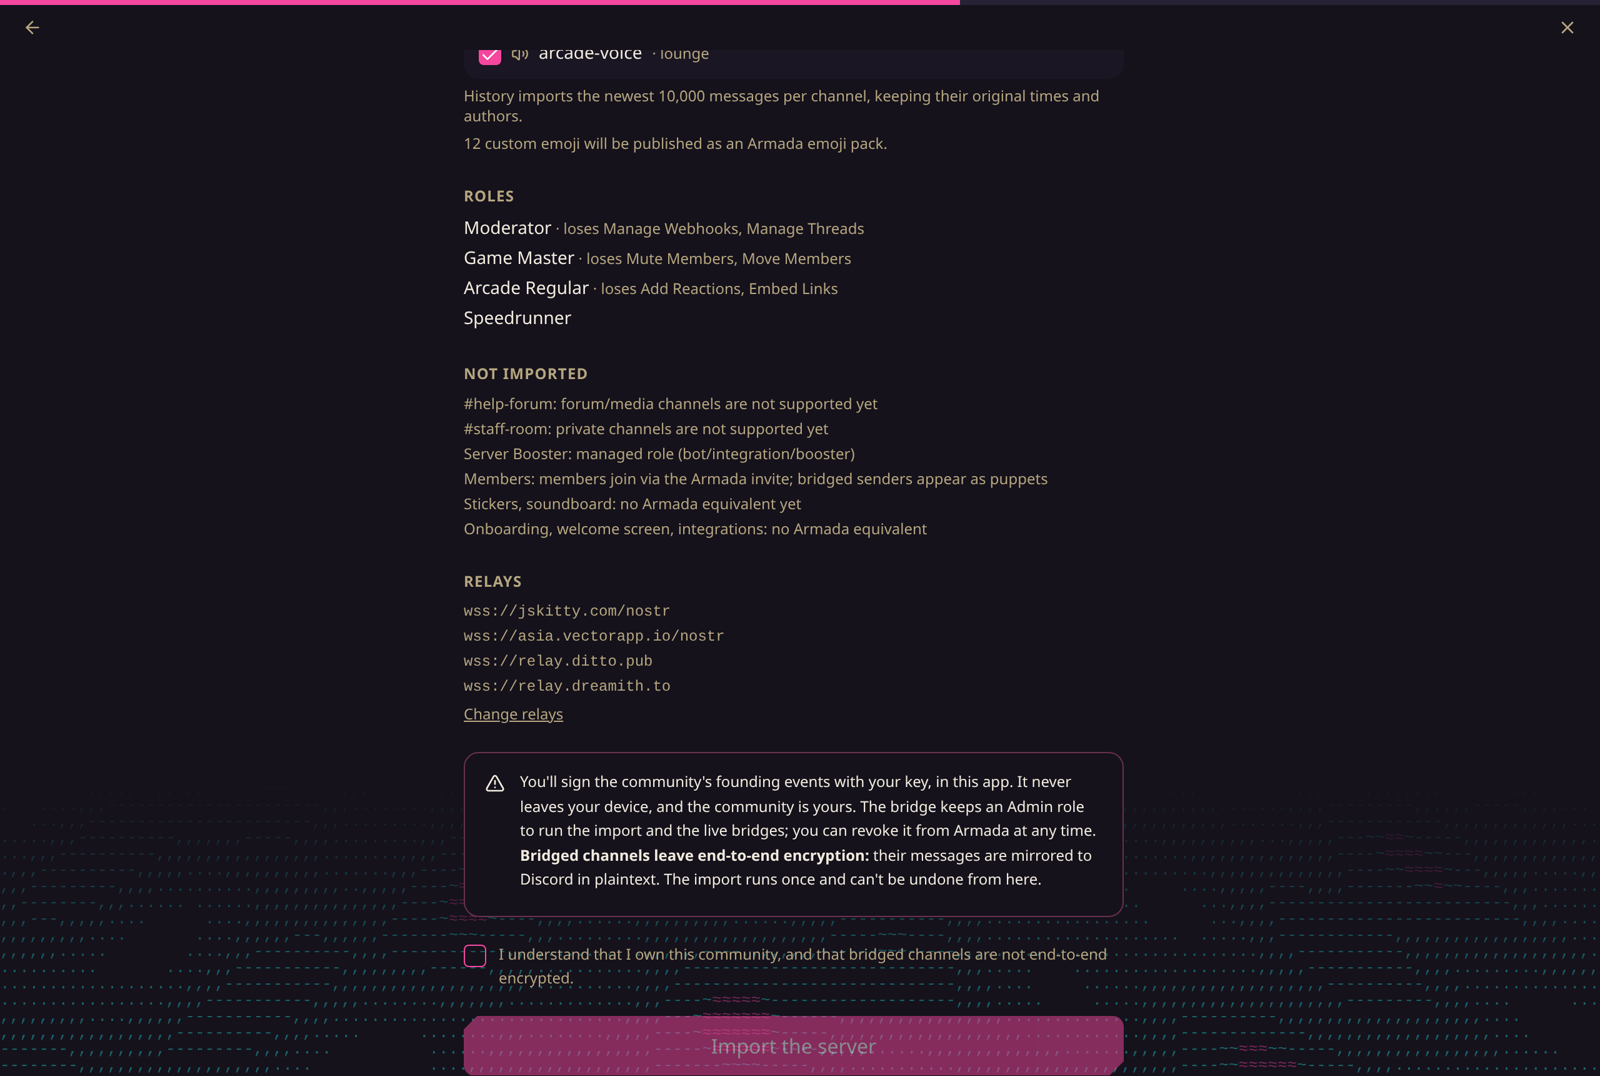
Step 6: Read the Warning, Then Sign With Your Key
The wizard is blunt about the one real trade-off: bridged channels give up end-to-end encryption, because every message is mirrored to Discord in plaintext. Channels you import without a bridge stay fully encrypted. Tick the consent box and click Import the server. Your Nostr key signs the community's founding events right in the browser and never leaves your device.
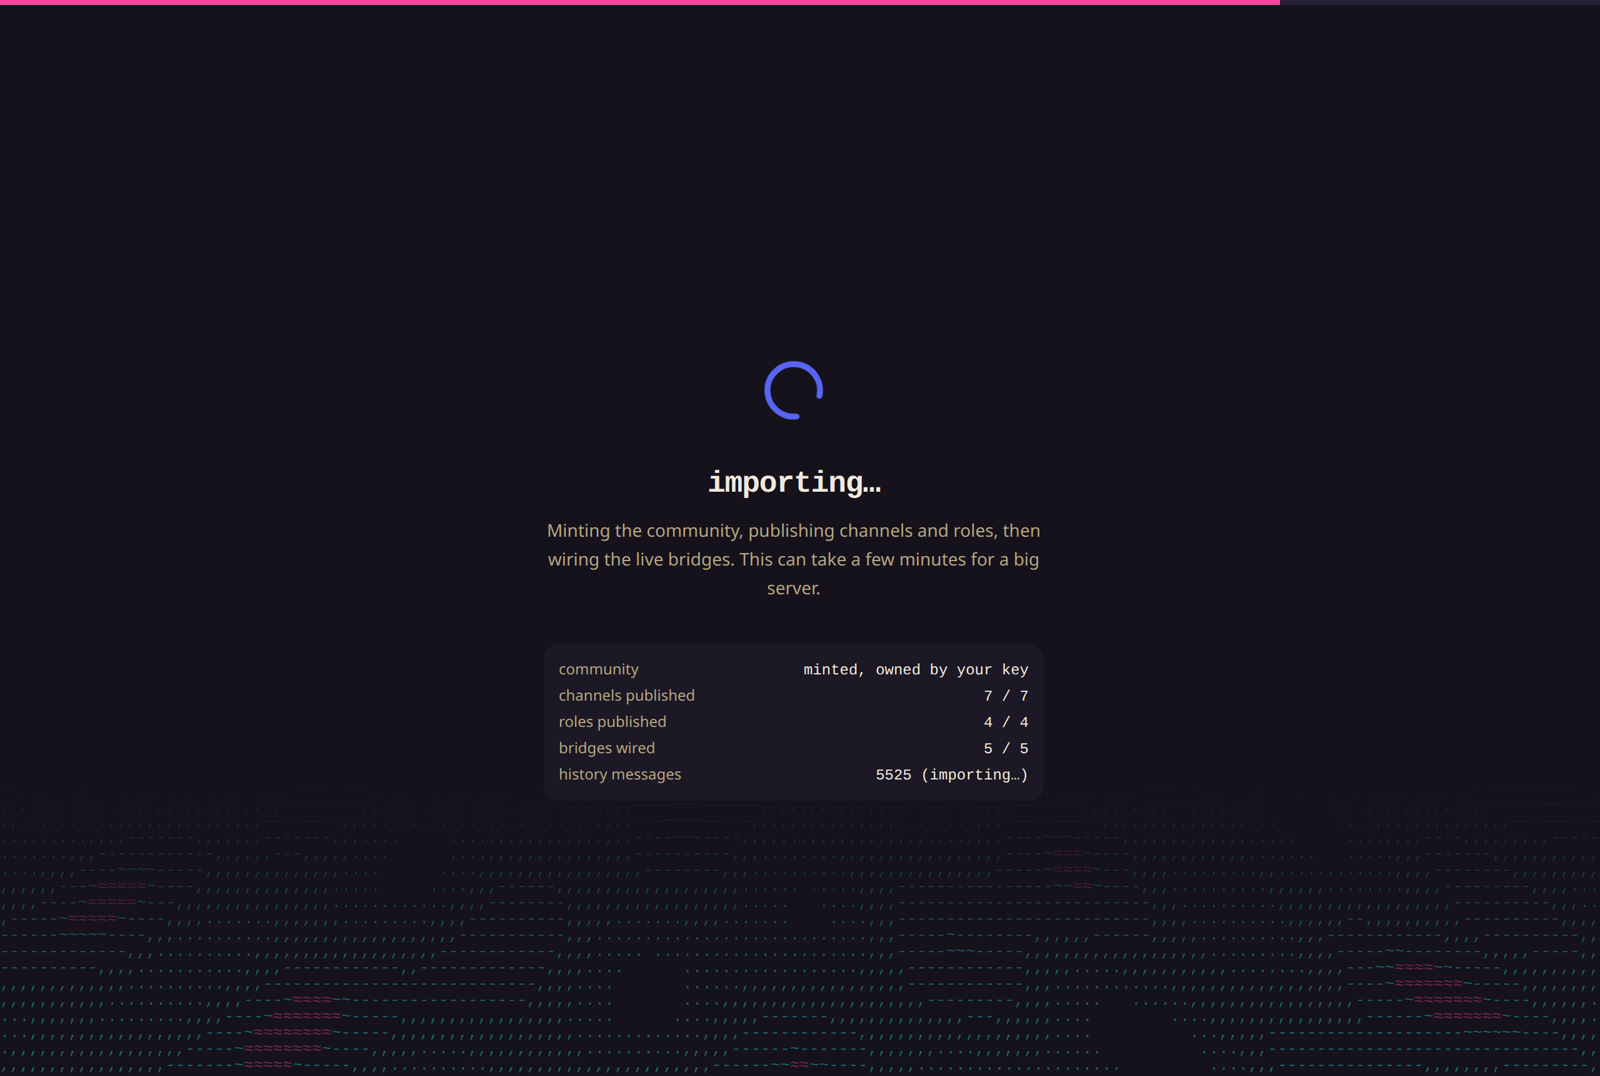
Step 7: Wait for the Import to Finish
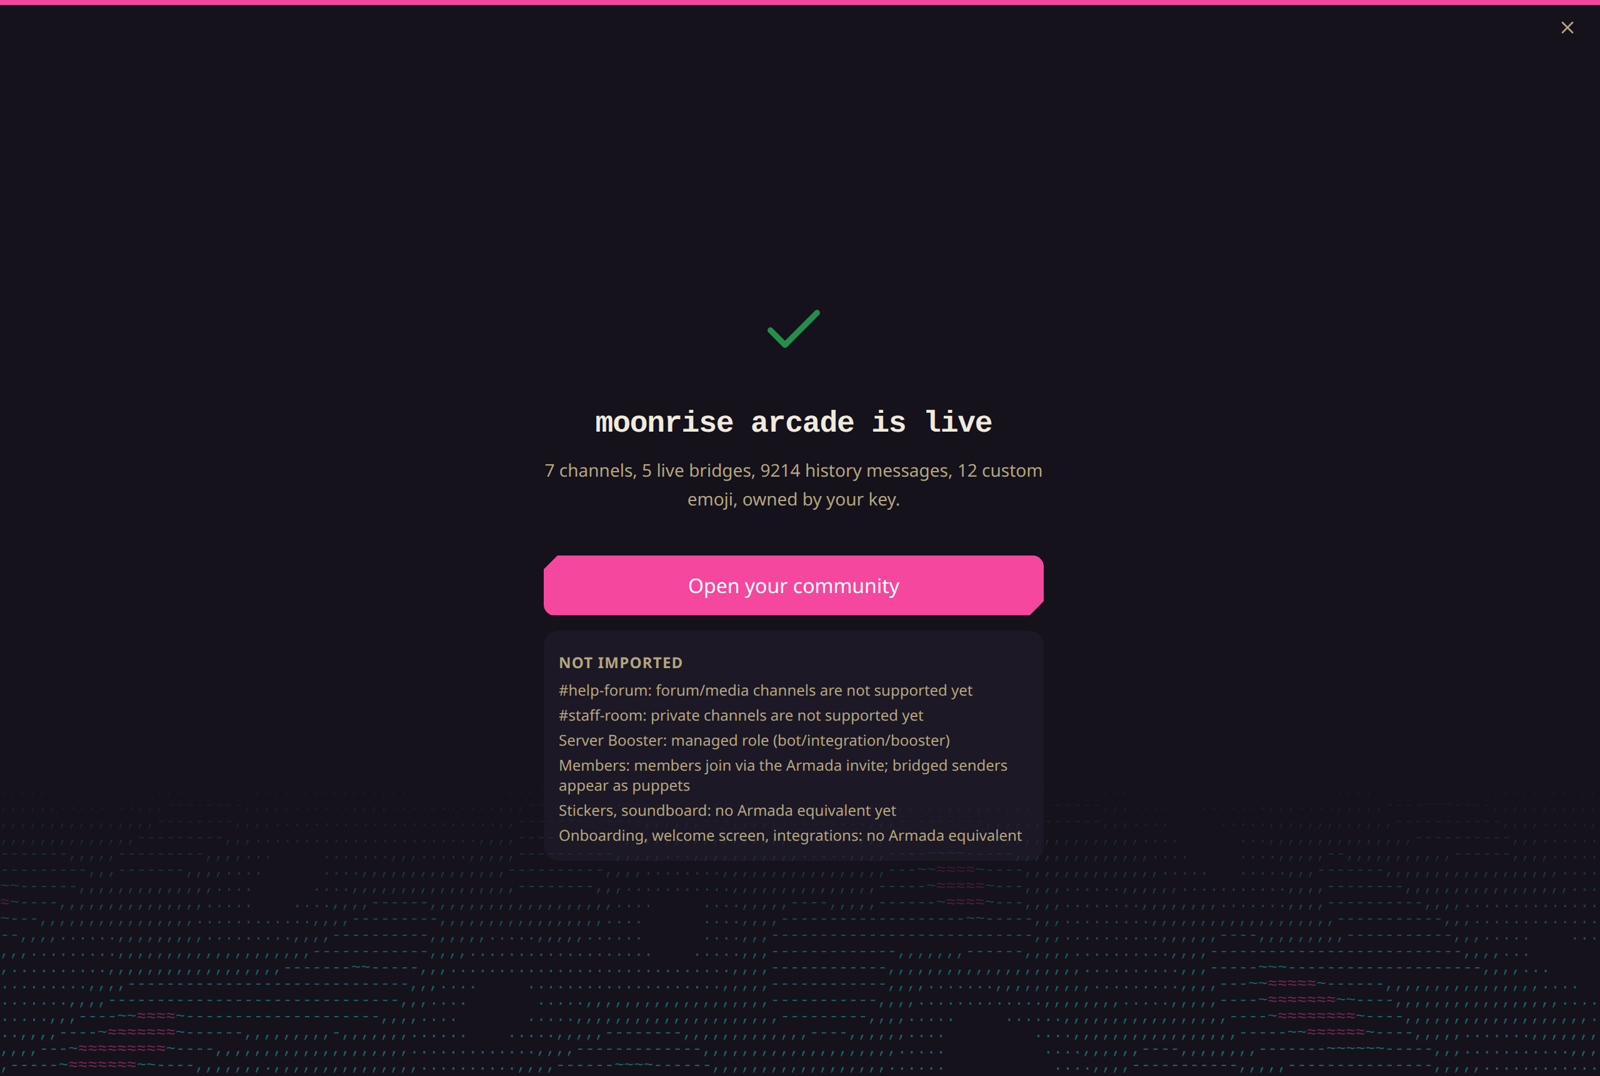
The community is minted, channels and roles are published, live bridges are wired, and history backfills. A few minutes for a big server. If anything stops partway, nothing is lost: retrying resumes from where it left off.
Step 8: Open Your New Community
Done. Click Open your community and share the invite link with your members.
What Gets Migrated
- Server name, description, and icon
- Text and announcement channels, with topics and category grouping
- Voice channels, as placeholder text rooms (no voice yet)
- Up to 99 roles with names, colors, hierarchy, and mapped permissions
- Custom emoji, published as an Armada emoji pack
- Message history: the newest 10,000 messages per channel, original timestamps and authors, for servers with 100 members or fewer
What Does Not Migrate
The tool tells you this up front, and so will we:
- Members. People join through your Armada invite. Until they do, their bridged messages appear under puppet accounts carrying their Discord name and avatar.
- Forum and media channels. Not supported yet.
- Private channels. Not supported yet; they are skipped and listed in the review step.
- History for servers over 100 members, and anything past the 10,000-message cap per channel.
- Stickers, soundboard, onboarding, welcome screens, and integrations. No Armada equivalent.
- Discord-only permissions like Connect, Speak, and Manage Webhooks. Each role's dropped permissions are listed in the review step.
What Works Over the Live Bridge
Channels you mark as bridged keep talking to Discord after the migration, so nobody is stranded. Here is the honest fidelity table:
| Feature | Discord to Armada | Armada to Discord |
|---|---|---|
| Text messages | Yes | Yes (long posts split at 2,000 chars) |
| Replies | Yes | Yes, with a jump link |
| Reactions | Yes, per user | Yes, collapsed onto the bot |
| Images and files | Yes, up to 10 MB | Yes, up to 10 MB |
| Custom emoji | Yes | Yes, for Discord-origin emoji |
| Deletes | Yes | Yes, including moderator deletes |
| Names and avatars | Yes | Yes |
| Typing indicators | Yes | Yes |
| Discord threads | No, ignored | Armada threads flatten into the channel |
| Edits | Off by default | Off by default |
| Mentions and pings | Plain text, no ping | Plain text, no ping |
| Voice | No | No |
| Rich embeds and bot messages | No | n/a |
Two more caveats worth knowing. If the bridge is offline, Discord messages sent during the gap are lost (Armada messages catch up when it returns). And a bridged channel is, by definition, mirrored to Discord in plaintext, so treat it like a public room, and drop the bridge once your members have moved.
You Own the Result
The community's founding events are signed by your key, in your browser. The bridge service holds an Admin role only so it can run the import and the live mirrors, and you can revoke that role from inside Armada whenever you want. Kill the bridge, and you are left with a fully encrypted, self-hostable community that no company can delete.
How to Self-host a Bridge
Everything above runs on our hosted bridge at bridge.armada.buzz, but the bridge is open source and you can run your own. The simplest setup bridges one Discord channel to one Armada channel with Docker:
- Create a Discord application and bot, enable the Message Content intent, and invite the bot to your server.
- Clone the repo and create a
.envfile:
BRIDGE_MASTER_SECRET=  # openssl rand -hex 32
BRIDGE_PRIMARY_KEY=    # an nsec for the bridge's identity
BRIDGE_INVITE_URL=     # invite link to your Armada community
DISCORD_TOKEN=         # your bot token
DISCORD_GUILD_ID=      # your Discord server ID
DISCORD_CHANNEL_ID= # the channel to bridge- Run
docker compose up --build.
The repo also contains the full portal (the import wizard, Discord OAuth, and a multi-bridge dashboard) if you want to run the whole thing: it needs Postgres, a Discord client ID and secret, and Bun. Setup is documented in the README.
Discord Migration FAQ
Get Armada
Armada runs in any browser at armada.buzz, including on iPhone. A native iOS app is on the way. On Android:
Related Reading
Soapbox is funded by grants and donations, not ads or data sales.
Everything we build is open source and belongs to the community. Help us keep it that way.